Laser Box
Project Goal
Use the laser cutter and/or any green tools (drill press, belt sander and band saw) to build and assemble a box from a limited quantity of 1/4” MDF (18” x 24”). Your box must include a minimum of five different types of joints, and five different types of fasteners. You are encouraged to use the form and appearance of the box for creative expression.
Executive summary
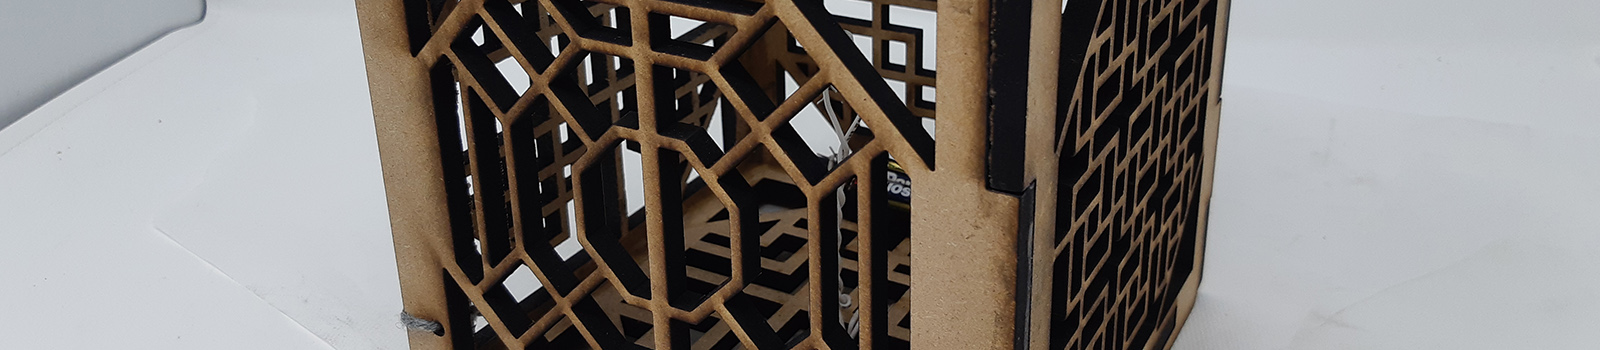
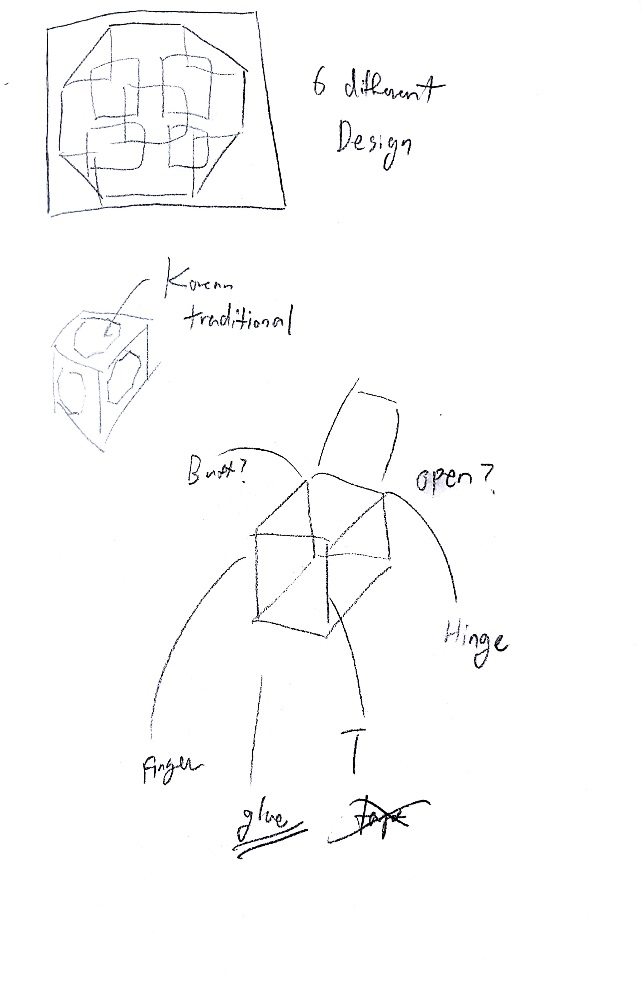
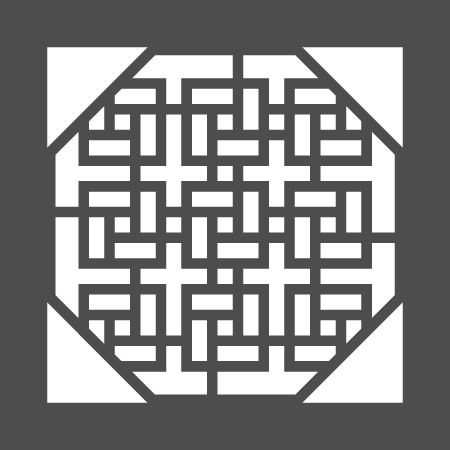
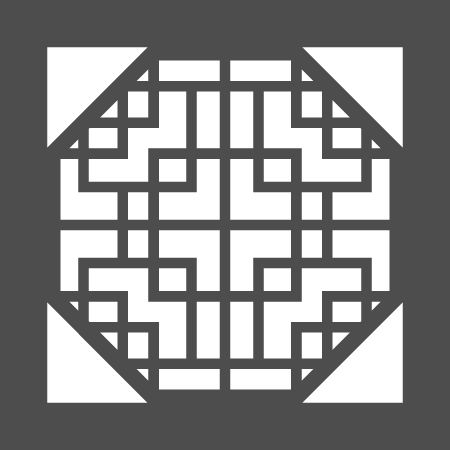
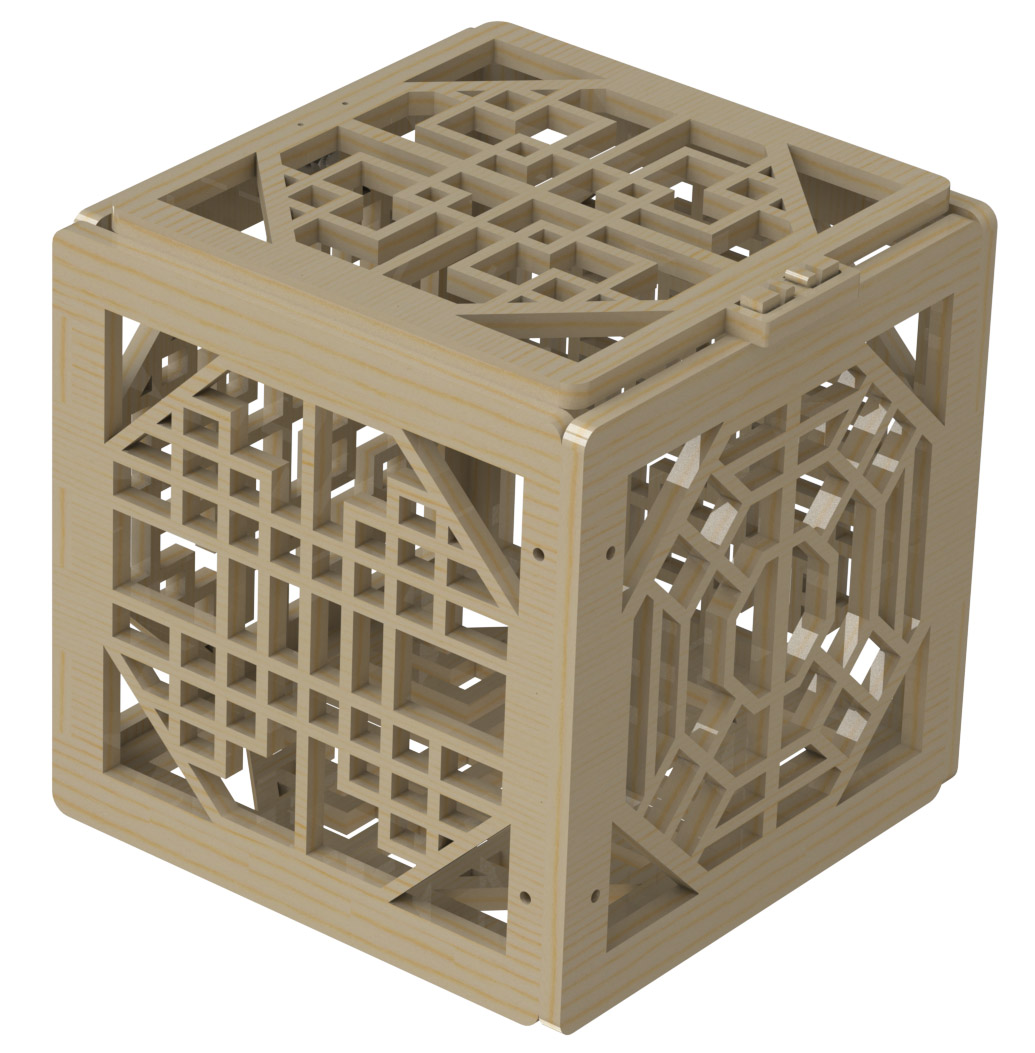
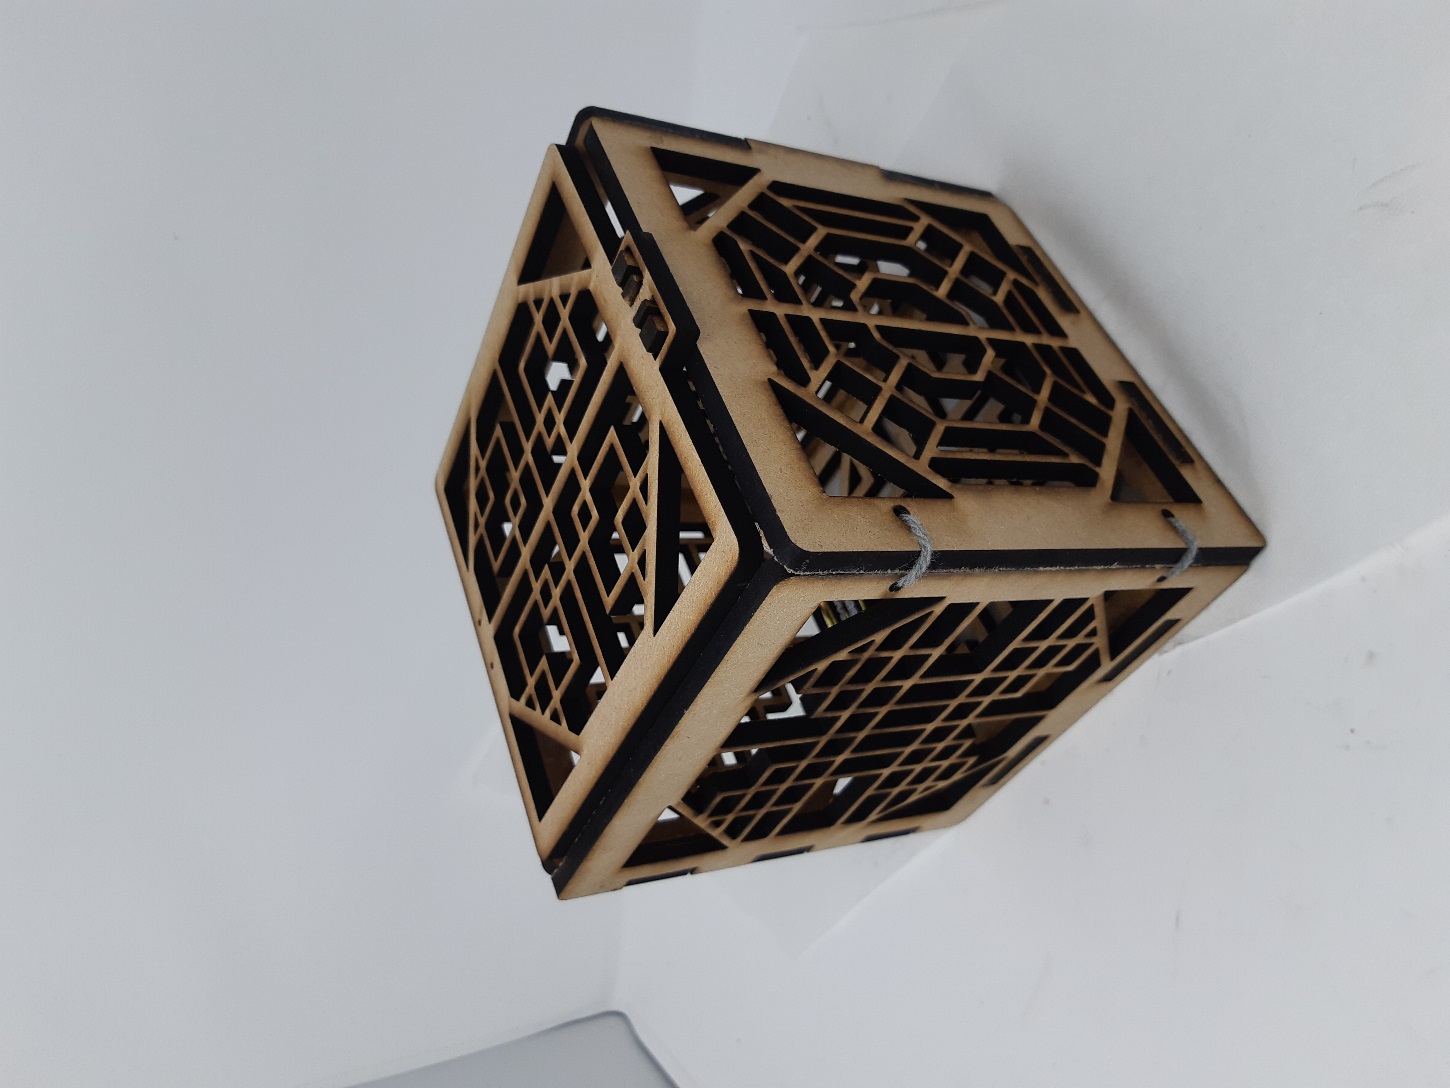
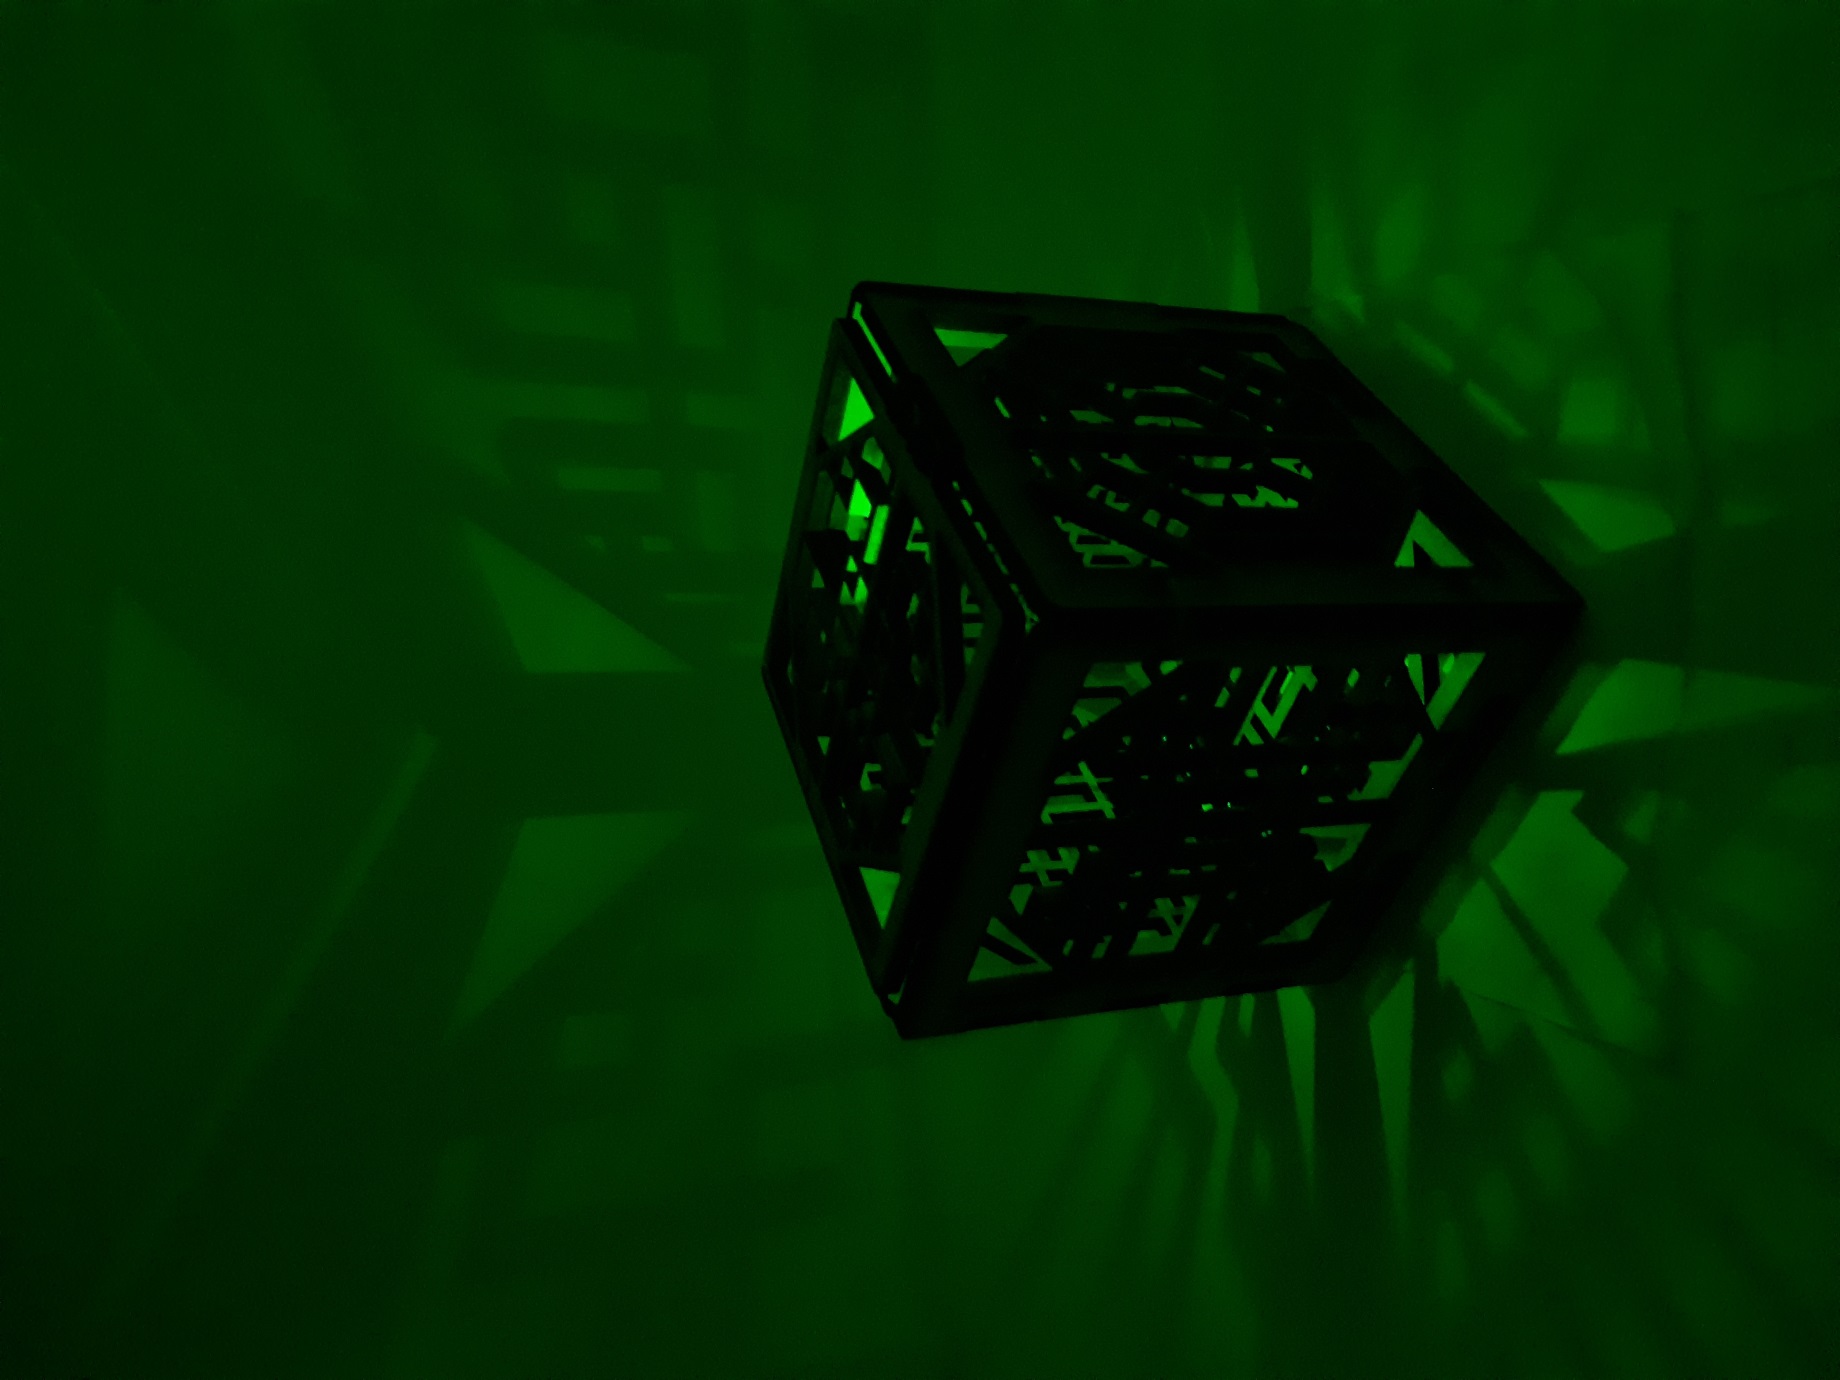
As soon as I read the project syllabus, I realized there is no other place than Korea itself that holds special meaning to me. I spend at least 15 years of my life back there, and every place that holds significant meaning to me exists in my home country, South Korea. I came to an approach where I wanted to create a box that contains an aesthetical value from Korea. I realized that Korea’s old window design has an exotic and complicated look that can be applied to a box shape. As a final product, my laser box contains six different designs from the Korean traditional window.
5 different types of fasteners and joints were used for assembly:
-
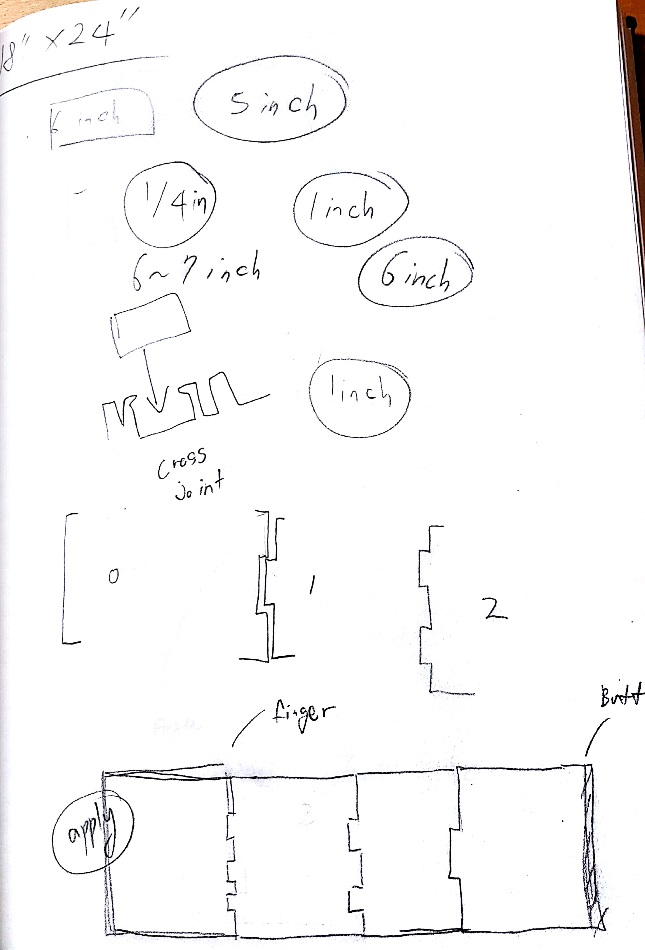
T joint (split of “mortise” and “tenon”)
-
Finger joint
-
Cross Joint
-
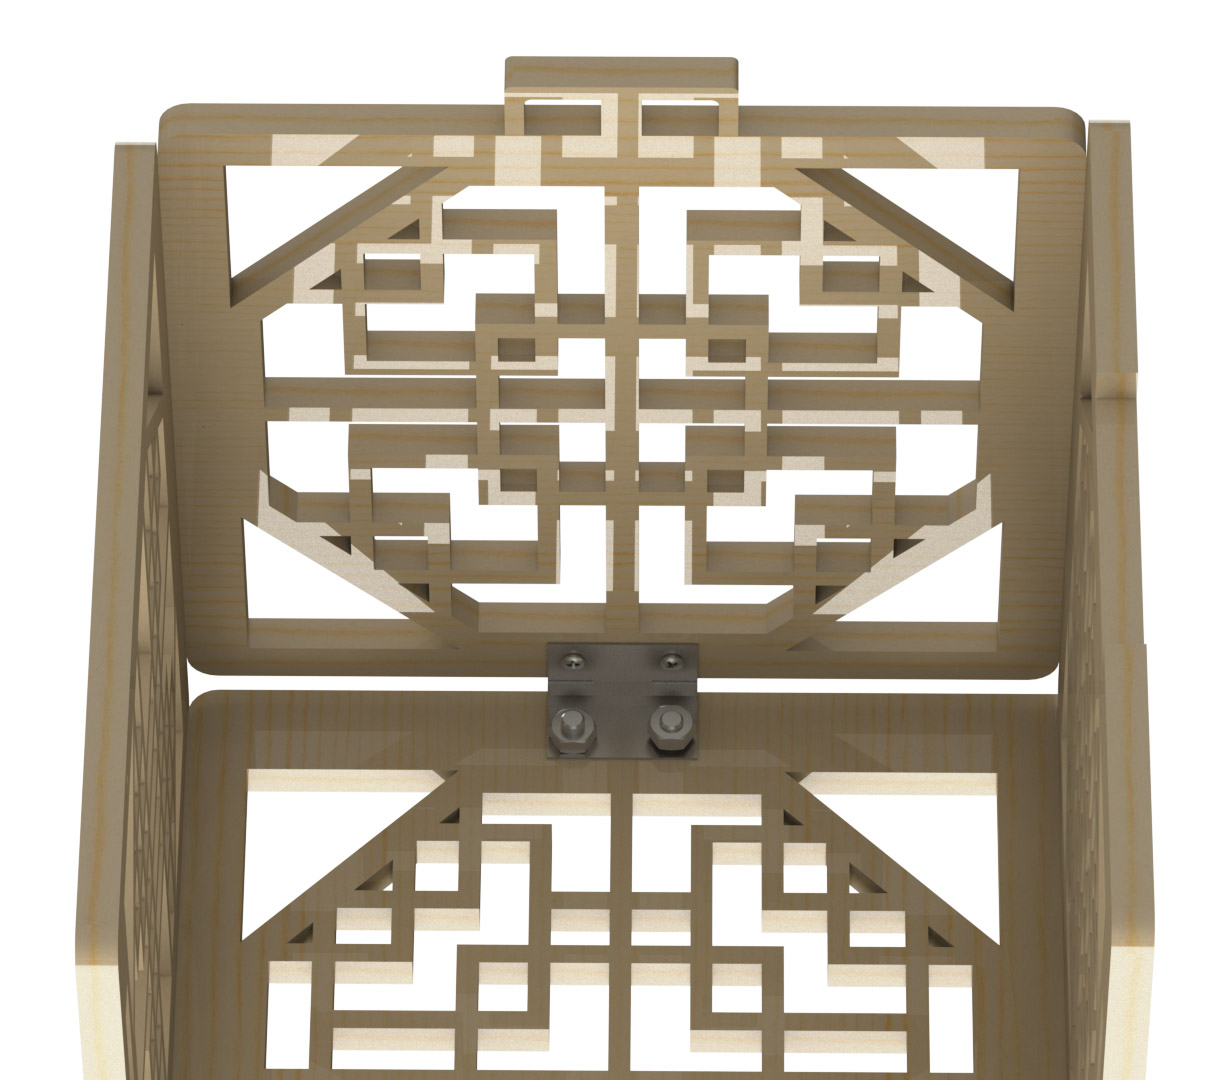
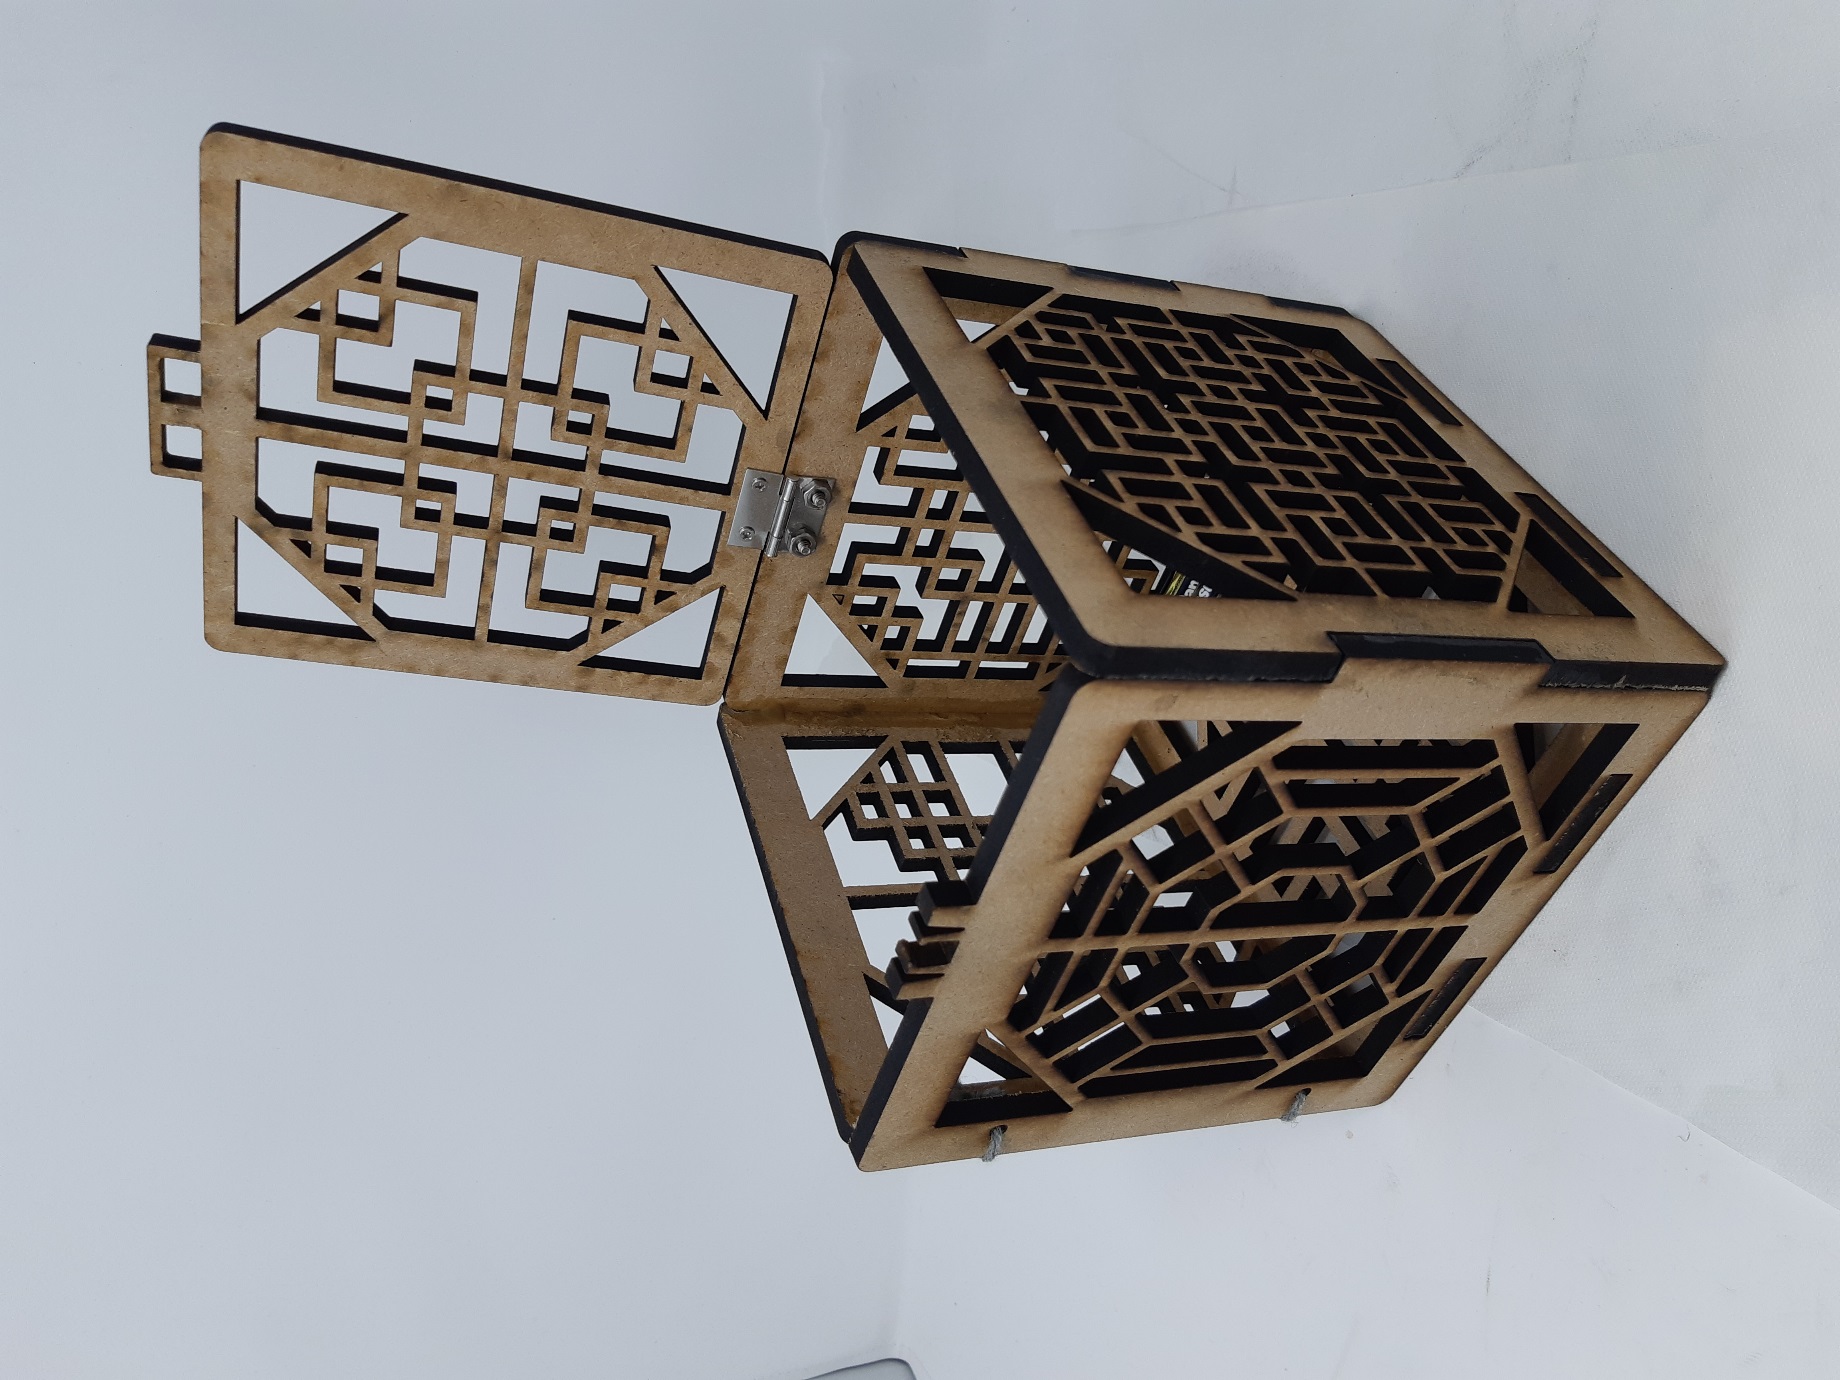
Hinge
-
Butt Joint
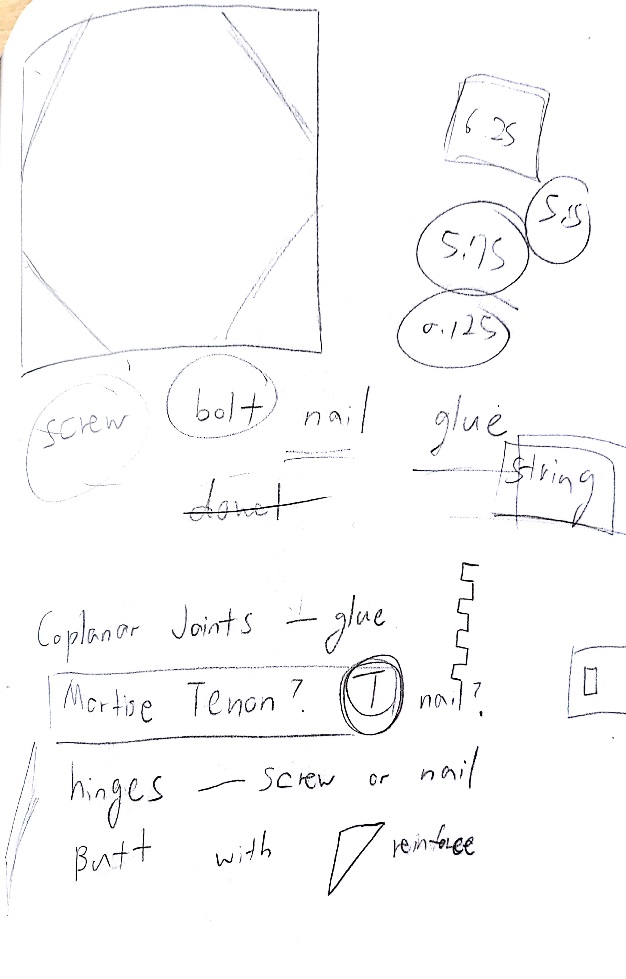
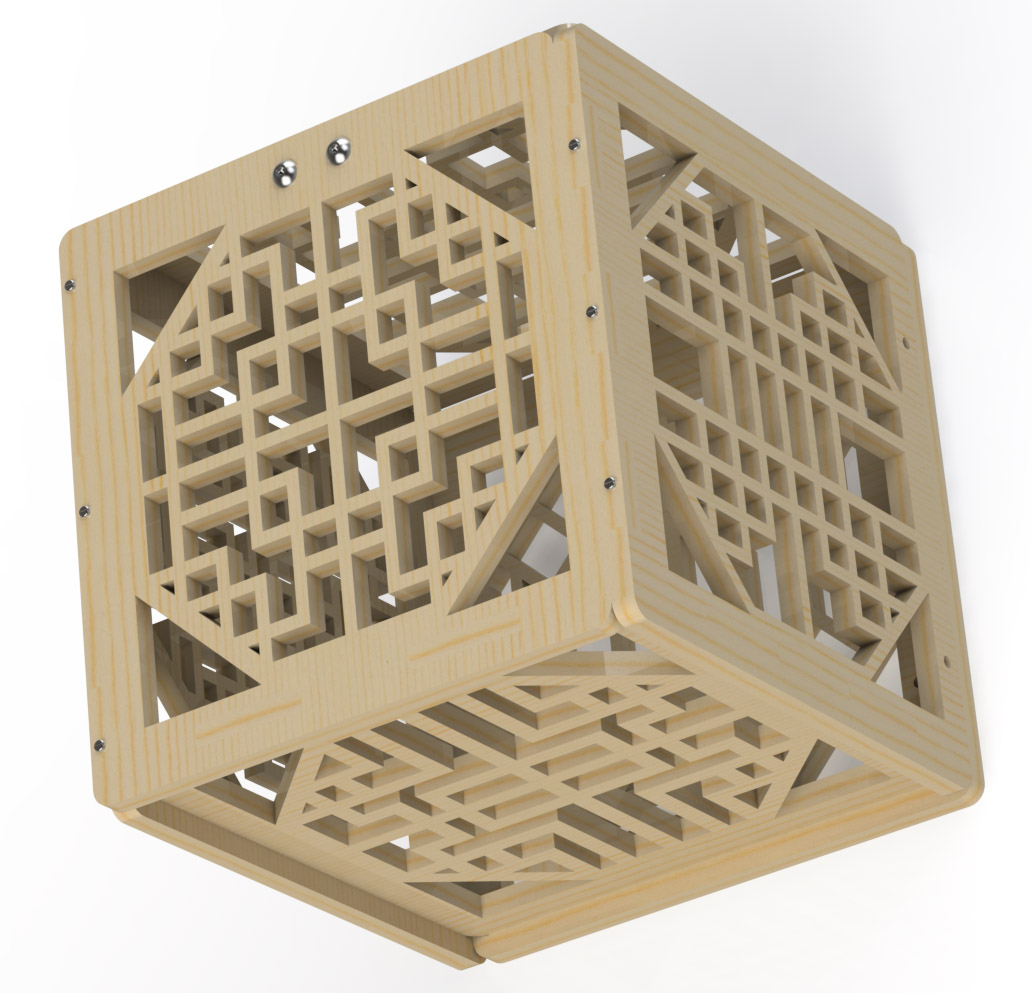
These joints were specifically chosen because they were easily printable by laser printer without any use of the green machine tools. Using green machining tools might not allow the amount of precision I wanted for the box, so I decided to not use any machining tools. T joints, Finger joints, and a butt joint are used to connect each side of the box. The hinge was used to create an open and close function to the box with the use of a cross joint.
-
Glue
-
Nail
-
Screw
-
Bolt
-
String
Glue was used to give a basic connection between the overall structure of the box. For a better connection, nails were applied to several corners of the box. Screws and bolts were used to connect the hinge. Strings were applied to butt joint, for a better connection and aesthetic view.
Sketches


SolidWorks Models
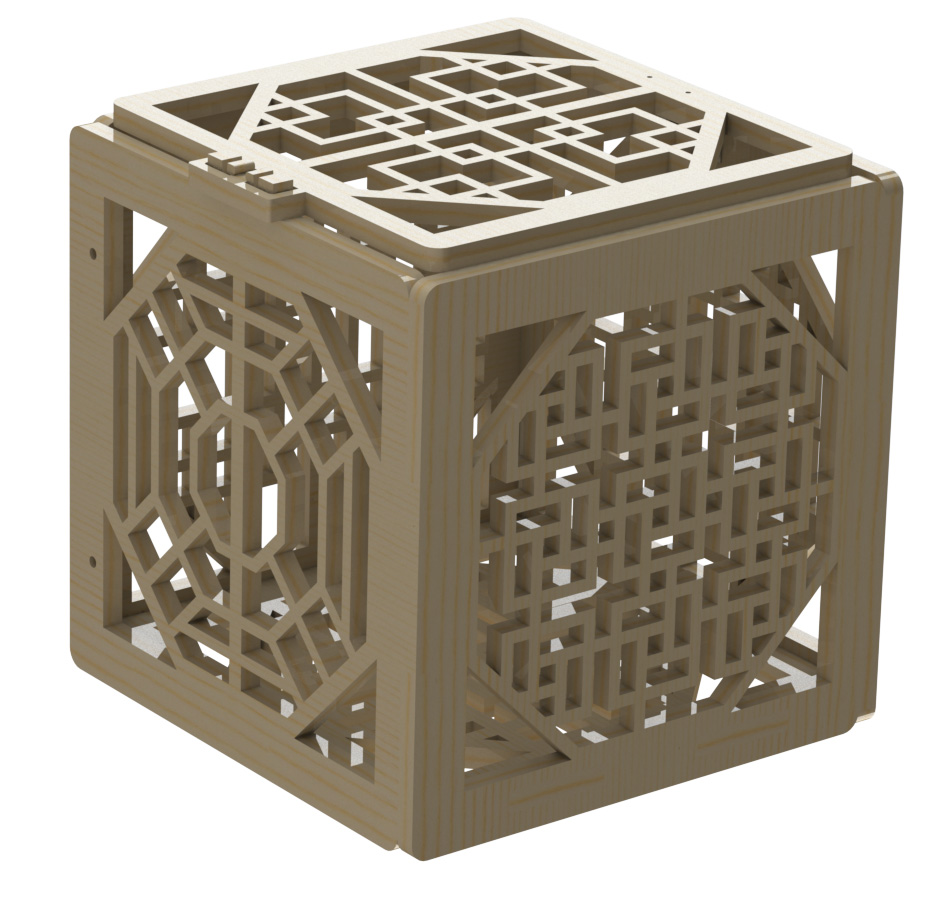
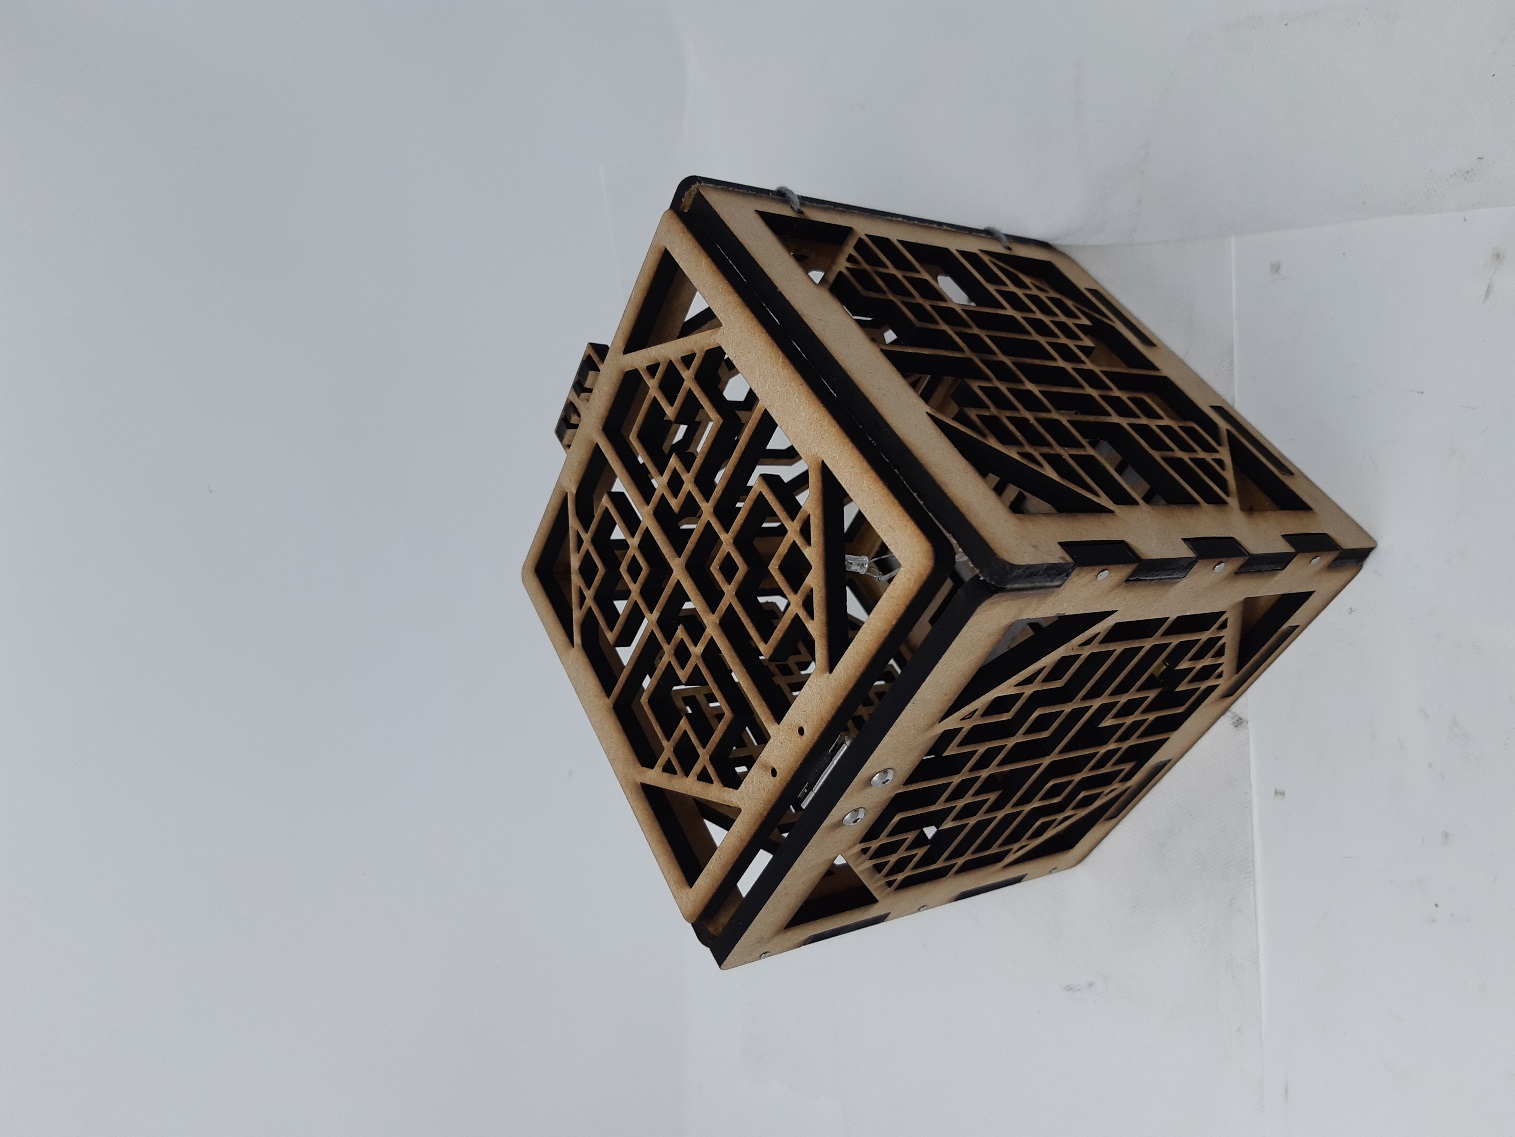
Physical Box
Reflection
Most valuable skills I learned from this project is the use of laser printers and basic knowledge in joints and fasteners. Laser printer opened a completely new field for me in sense of creating things, and I realized I can apply these skills to several other projects that I was planning to do. For example, for a long time, I was planning to create a computer case of my own design. This was not simple for me because I didn’t even know what tools and what programs I can use to start the project. After this project, I’m quite confident that I can create a simple computer case of my own, using the skills I learned with joints and fasteners, and the CAD skills acquired from finishing several tutorials on SolidWorks.
CAD part of my project went well, and I enjoyed the time I spent trying to make everything fit inside the assembly. However, I didn’t quite realize the fact that creating an assembly in CAD and trying to make it physically is a different thing. I almost broke the box while trying to put a nail inside (there is a small crack on the box splitting the MDF horizontally), printed parts did not fit as expected without the use of glue, and strings were not acting nicely as fasteners than I expected. I feel like these things are something that I had to learn by experience, making me a better engineer next time I do an assembly.
Finishing SolidWorks tutorials and designing the laser box made me more comfortable using the CAD program. I can feel my skills improving on SolidWorks, though there is a lot to learn more.